10 Household Items for Hat Making
Milliners need a huge variety of tools, fabrics, blocks and trimmings. If you are new to hat making, getting your studio established with the equipment you need can be confusing and expensive.
Thankfully, being creative also means that you can figure out how to use what you already have and there are lots of everyday, inexpensive items that you can find around your home to help you make unique headwear.
1) Plastic Wrap
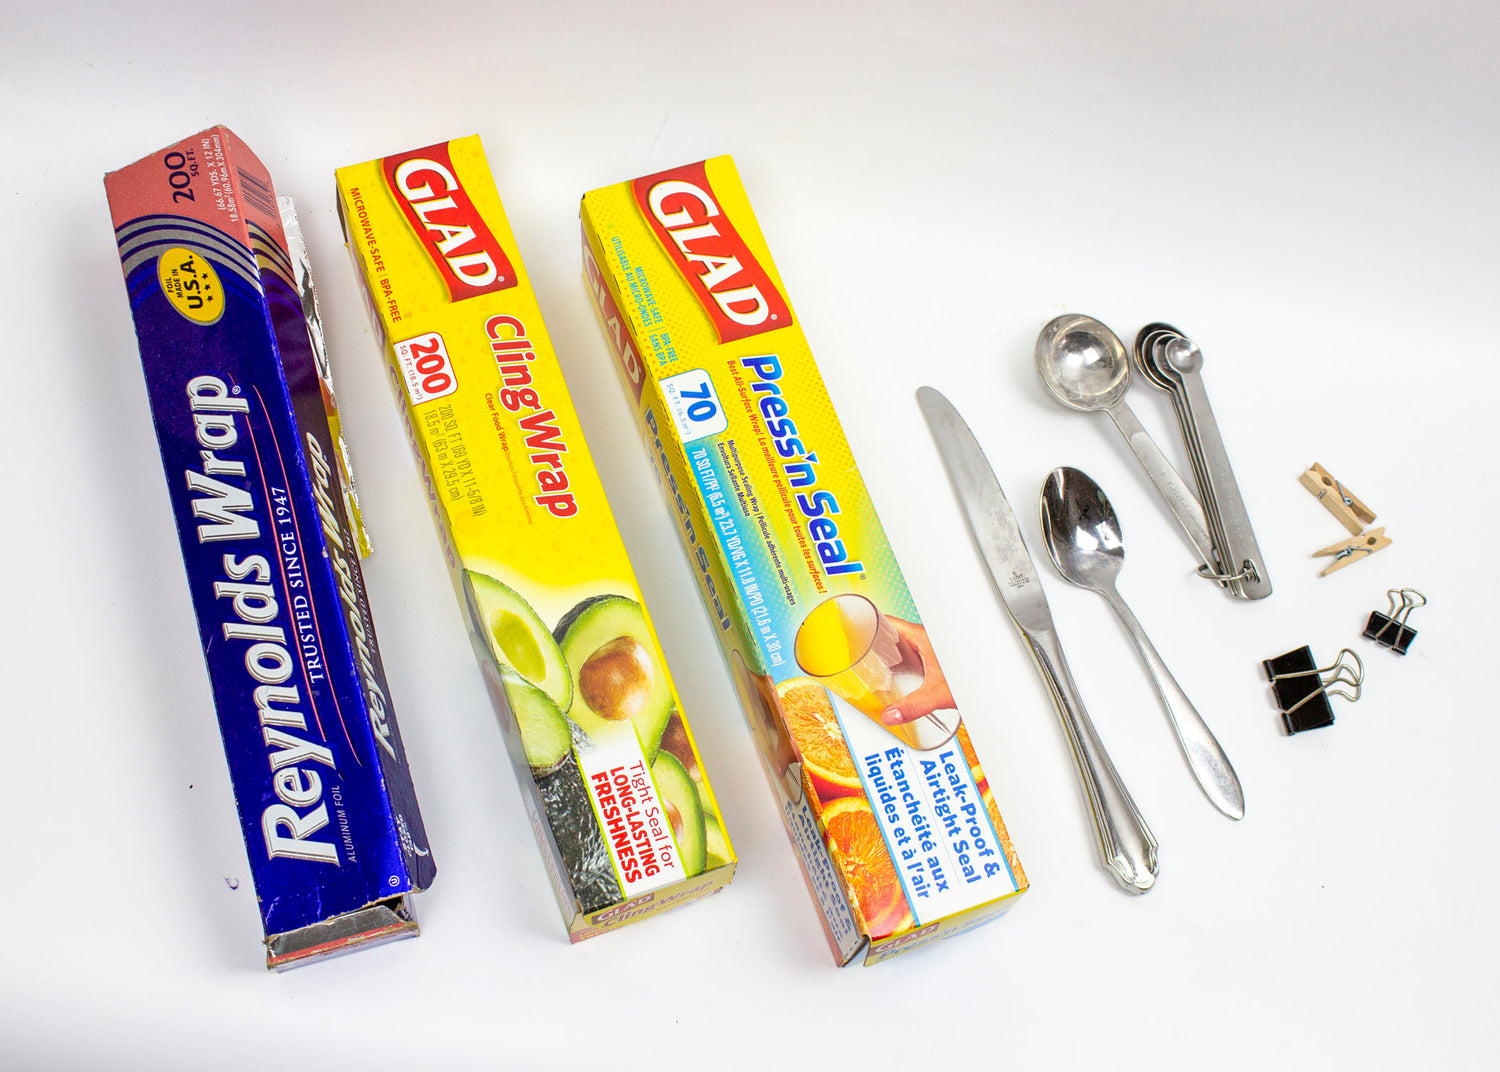
An absolute necessity is plastic wrap (eg. ClingFilm or Saran Wrap). Every time you block a hat, you will need to put a fresh coating of plastic wrap onto your hat block to prevent any dyes from bleeding over from your previous work.
2) Aluminum Foil
Aluminum foil is useful for covering blocks when you are working with Fosshape or other thermoplastics. Working with thermoplastic requires greater heat and the foil will not melt like plastic wrap can.
3) Press’n Seal
There is also a great product called Press‘n Seal. This material is a thick, cloudy plastic that has a sticky backside. The adhesive is tacky but easy to place and remove without leaving a residue. This material works great for covering hat blocks that have points or tight curves or corners, as the sticky side will adhere easily to the shape.
4) Clips and Clothespins
Also useful for blocking are office binder clips and mini clothespins. These items can be used to help hold binding or wire edges in place when sewing. They can be helpful for giving you an extra hand while assembling trims and other small projects.
5) Kitchen Utensils
I always keep a set of measuring spoons, a butter knife and a spoon just for my studio. I like to use dyes and measuring accurately helps to reproduce the same color results each time. Of course, I make sure not contaminate my food by keeping these utensils out of the kitchen. My spoon is not just for dyes, I use it to mix stiffeners, too. I keep the butter knife around for working with thermoplastics or making flowers, the dull narrow edge can be useful.

6) Tupperware
Tupperware containers are great for short term storage of your stiffeners once they are mixed.
7) Mixing Bowl
A medium sized bowl is the perfect place to soak your materials in stiffener.
8) Paintbrushes
I also keep a couple of different sized paint brushes handy for applying stiffeners.
9) Hair Spray
Did you know that you can even find millinery stiffeners in your house? For instance, I keep cheap hairspray in my studio for working with feathers. A quick spray after detail cutting can help hold your designs in place.
10) Spray Starch
Spray starch from the laundry room is great for rolling sinamay edges. Spray a small amount in a bowl or lid and dip the edge of the sinamay in it. Once dampened, roll the edge and then secure it while it dries.
What Can You Find?
As you can see, there are plenty of ways that you can use household items for hat making and these are just a few ideas to get you started.
Don’t be afraid to experiment – look around for bowls or vases to use as hat blocks. Experiment with natural stiffeners like gelatin or gum arabic to see how they work with different fabrics. Grab your hair straighteners or curling iron and curl your feathers. You don’t have to have a fancy millinery studio to make beautiful hats, you just need to think outside the box!
Products
View all
