Millinery Dyes: Creating Custom Colors for Your Hats
Learning About Millinery Dyes
As you expand your millinery skills, it is useful to learn how to do custom dyeing for your clients. High-end milliners often offer to dye materials to match a client’s outfit. Like all millinery techniques, dyeing takes practice and learning to reproduce colors takes detailed record keeping.
There a wide variety of materials used in millinery that can be dyed. To choose the dye you need, first decide if the fiber you want to dye is animal, plant or synthetic.
Fiber Reactive Procion Dyes
Fiber reactive procion dye is a strong, wash-safe dye that works best with cotton and other plant cellulose fibers. Plus, some are made especially for protein and synthetic fibers. A reactive dye basically means a chemical reaction must set the dye in order for it to be permanent. Soda ash is often used as a fixer in the dye bath or presoak. Procion dyes can also be cold water dyes, meaning that you can work away from a stove.

Acid Dyes
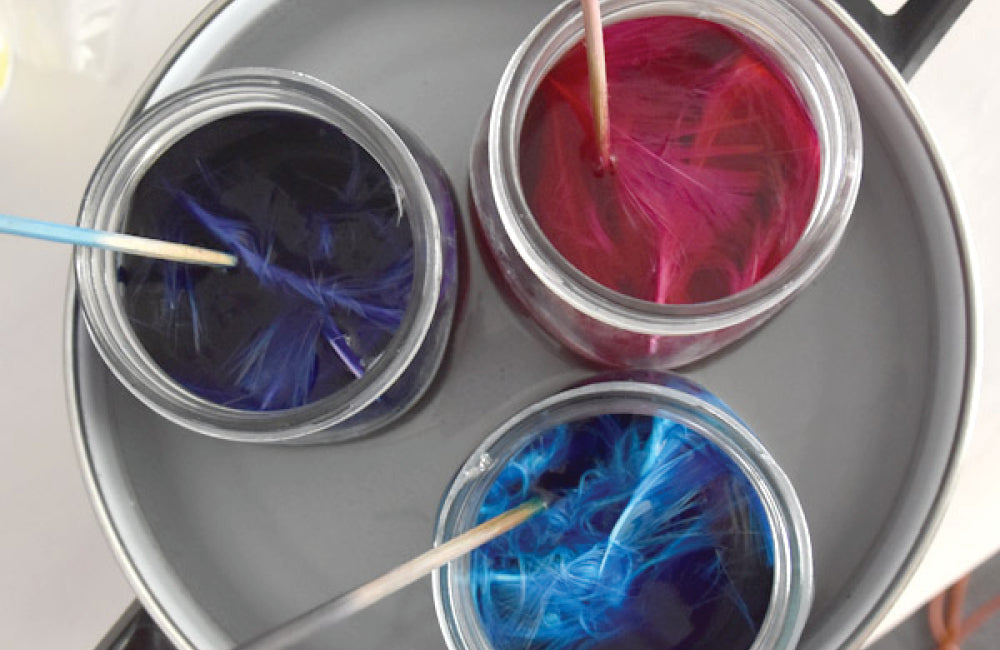
Acid dyes are used to dye protein fibers such as feathers, silk or wool. Acid dyes are mixed with a mild household acid (such as vinegar or citric acid) which causes the dye to attach to the protein fibers. When working with acid dyes, you need to bring water to a simmer then reduce to steam. It is helpful to use a hot plate to heat your water in a well-ventilated area. This avoids any smell and mess in your kitchen.
Acid dye should be handled with care – wear a mask with eye protection and rubber gloves and try to disturb the dye as little as possible when scooping.

Aniline Dyes
If you are working with leather, you will want to look for aniline dyes. These are available from specialist leather suppliers like Leather World. Aniline concentrates can be diluted with rubbing alcohol and are water soluble. Water solubility is important when working with leather for hat making.
Millinery Dyes: Getting Set Up
No matter what type of dye you are using, you will want to keep some basic tools on hand which are strictly for dyeing. Mixing spoons, tongs, measuring spoons, a white coffee cup, old towels, rubber gloves, an apron and some pans and jars will be needed for your dyeing set up. It’s even a good idea to isolate certain brushes and containers for specific colors, to prevent color contamination.

Before dyeing, be sure to soak your materials in water so they are ready to accept the new color. This is especially important for feathers, which may need to soak longer than other materials. With leather, it should only take a quick dunk, or dampening with a spray bottle. After the materials have been dyed, use a clear bath to rinse them.
Always test your materials. Different fibers will react differently. When you find the color you like, be sure to dye enough material to finish your project! It is very difficult to reproduce colors and you don’t want to run out of something in the middle of a project. You can store dyes for short periods, but the more it is used and the longer it sits, the weaker the color will become.
As you develop your dyeing skills, it is useful to keep a journal with swatch samples and notes on the dye type, concentration and amount of water that you used. That way, you can build your own unique library of colors for your millinery creations.
Products
View all
